![]()
The goal of this project is to set up your environment for a game analytics pipeline. This project is not due, but will be used for many of the remaining class projects.
A Jupyter Notebook is an open-source web application that provides an environment for running Python (and other languages), as well as managing and sharing associated data files. See jupyter.org if you want to know more.
We will be using our Jupyter Notebooks from a WPI-hosted JupyterHub, a server that spawns and manages Jupyter Notebooks for multiple users. See jupyterhub if you want to know more.
Open your favorite Web browser and go to the Jupyter Notebooks Server:
Note, if you get an message saying “Your connection is not private” and “attackers might be trying to steal your information” or something similar (the exact message depends upon your browser), this message can be safely ignored. In this case, click on the “Advanced” or “Details” button (the exact method depends upon your browser) and then proceed to notebook.cs.wpi.edu.
Login using your WPI user name.
For your password, pick a secure password you can remember. Important! Write it down (someplace securely) if you have to since you will not be able to (easily) recover it should you forget it.
Once logged in, you should see a screen similar to this:
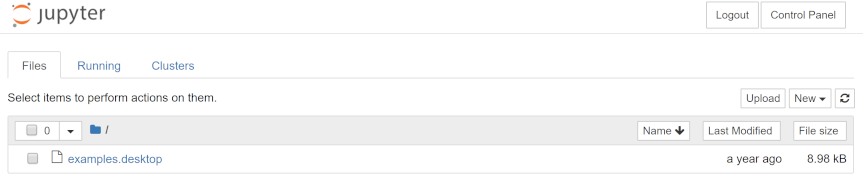
Open up a new Notebook by clicking on “New” in the upper right corner, then selecting “Python 3” below it. This will launch the new notebook.
Once you’ve done so, you should see a screen similar to this:
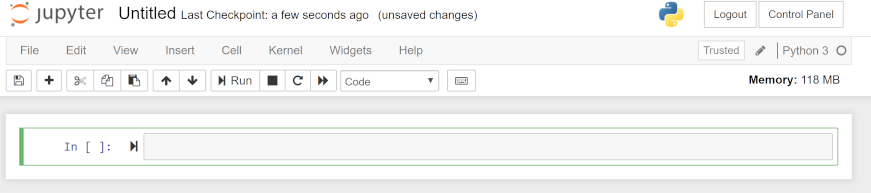
Just to the right of the “>” prompt, paste in the below Python script:
Run your Python script by clicking on the “> Run” button at the top or clicking on the “>” prompt right next to your code.
If all is working, you should see output like:
Hello, world!If you want, you can save your Notebook by clicking on the “Save and Checkpoint” icon in the top left (or by selecting “File” –> “Save and Checkpoint” in the menu).
When done, you can close the notebook by “File” –> “Close and Halt”.
From the main menu, you can select a Notebook (they have an .ipynb extension) and then operate on them (e.g., “Duplicate”, “Rename”, “Move”, “Download”, “View”, “Edit” and delete (via the trash can)).
You can upload data files by using the “Upload” button in the upper right.
The “New” option also allows you create a text folders, if you want to organize your python notebooks and data files.
Jupyter doesn’t have a way to simultaneously upload multiple files. You can select multiple files for upload, but then need to click them each individually.
An alternative is to zip up the multiple files locally, upload the zipped file, and use a Python utility from inside a Notebook to unzip:
#
# Unzip file.
#
# version 1.2
#

DIR="replace-with-directory"     # Extract files to this directory.
FILE="replace-with-filename.zip" # Full path of zip file.

import zipfile as zf
file = zf.ZipFile(FILE, "r")
file.printdir()
file.extractall(DIR)
file.close()
Similarly, inside your Python Notebook, you can zip up multiple files:
#
# Zip file.
#
# version 1.0
#

DIR="replace-with-directory"
FILE="replace-with-filename" # Don't add '.zip' extension.

import shutil

shutil.make_archive(FILE, "zip", DIR)