| What to do: |
Initial set up
- Go to http://www.arduino.cc/
- Follow the link to "Download", and select the Arduino software for your computer
(Here is the Windows version)
- Extract the zip archive
- Open file: arduino-0017\lib\preferences.txt
- In "DEFAULT PATHS FOR SKETCHBOOK AND SETTINGS"
- Uncomment the line "#sketchbook.path=" and add a value so that the line is now:
"sketchbook.path=./"
- Uncomment the line "#settings.path=data" and add a value so that the line is now:
"settings.path=./"
This will set the default path settings for the Arduino on the computer you are using. Any path will do actually, but follow the rules described in
"preferences.txt".
- Put the board on top of a non-metallic surface that can serve as an insulator (e.g., the cardboard box or plastic bag in which the board came)
- Connect your board to a USB port using the provided USB cable. A green light should turn on on the board
- Execute the Arduino IDE "arduino.exe" in the main folder
- Go to Tools->Serial Port and set the correct serial port the Arduino is connected to. It is probably going to be COM4 or COM5.
- Go to tools->Board and make sure the correct board is selected (Arduino Duemilanove)
Simple Blink Test
- Testing with resistors
Go to Files->Examples->Digital->Blink. This will open sample code that makes a LED blink. Click on the upload button  . The rx and tx LEDs should blink on the board. After that, another LED will blink intermitently. . The rx and tx LEDs should blink on the board. After that, another LED will blink intermitently.
Testing with an External LED
- Try understanding what the code is doing. Try changing the 1000 delays to 100 and 10 and see what happens.
- Orient the board so that the words "Arduino Duemilanove" are not upside-down or vertical when you read it.
- Get the red or the yellow LEDs from the kit. Insert the longest leg into Pin 13 (to the right and top of the blinking led on the board) and the shorter leg into the GND (ground) pin (to the left and top of the blinking LED on the board). Be careful not to connect to the AREF pin.

- Does it blink? Can you see in the code where Pin 13 is being set?
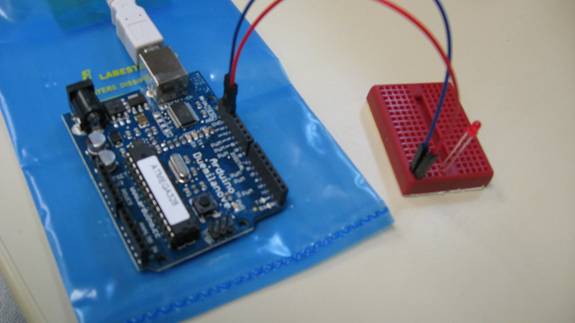
Testing the Breadboard
- Moving ahead, let's try to make this using an external connection using the breadboard. Get the bread board and a blue and a red wire.
- Disconnect the Arduino from the computer temporarily. Do this whenever you are changing your circuit project to avoid damage to the electronic components.
- Connect one tip of the red wire to Pin 13.
- Connect the other tip of the red wire to one of the rows of the bread board (each row is a set of 5 pins, columns have 17 pins).
- Connect one tip of the blue wire to the GND pin.
- Connect the other tip of the blue wire to the pin in the bread board right below the one you connected the red wire to, but in a different row.
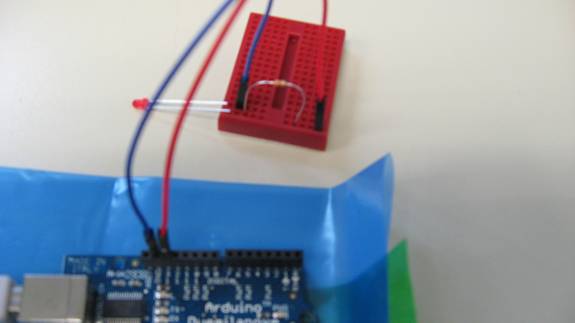
- Connect one of the LEDs (red or yellow) to the rows where the wires are connected. Make sure the longest leg is in the same row as the red wire and that the shortest one matches the one with the blue wire.

- Reconnect the Arduino to the computer and the LED should blink again.
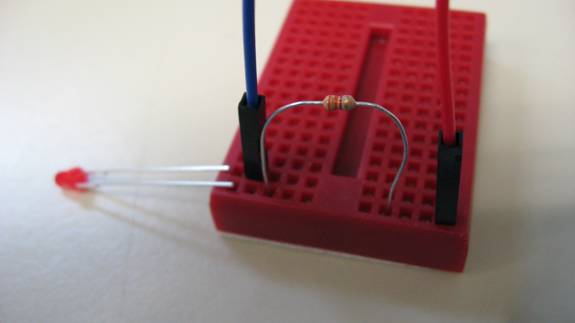
What About Resistors?
- Try adding one, two, three and five resistors to the circuit before connecting the LED to the hot wire and see what happens, if anything. Try comparing this to your peer's project when he/she has a different number of resistors in his/her circuit. Make sure you disconnect the Arduino before making any change to the circuit. See pictures below for more details.
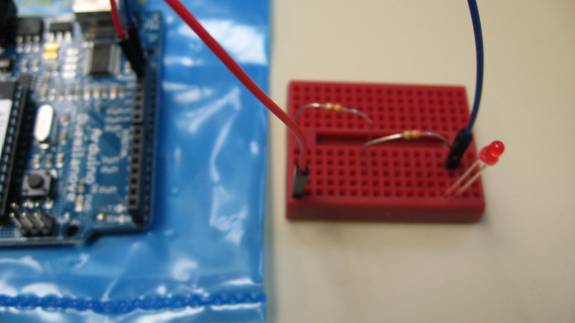
- With one resistor:
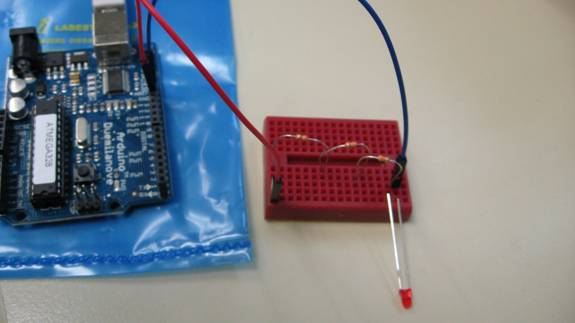
- With two resistors:
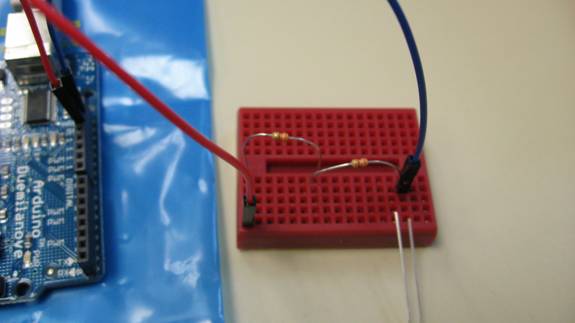
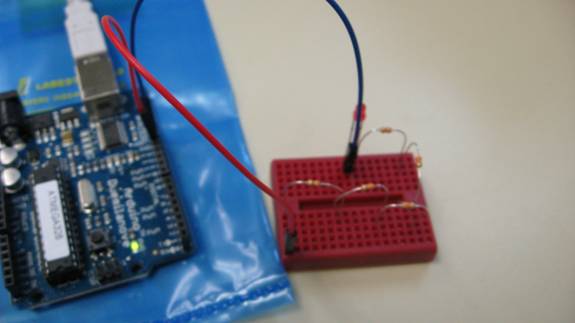
- With three resistors:
- With five resistors: be creative!
More Info:
Similar steps can also be found at: http://arduino.cc/en/Guide/Windows
A more interesting example can be found at: http://www.ladyada.net/learn/arduino/lesson3.html
|