![]()


The aim of this project is to get you familiar with designing Android screens
using layouts, widgets and the webview. This project should be done in
Android Studio and each student should do the project by themselves.
You may discuss the projects with other classmates or on InstructAssist but
each student will submit their own code for the project. Android Studio
is already installed in the Zoolab. You should do your project there.
If you do your project on your home machine, please test it on the
zoolab machines before submission.
Design the following 4 screens. You will need to create 4 different Android Studio projects (1 for each screen). The 4 Android Studio projects will be put together and submitted in a single zip file. The 4 screens are:
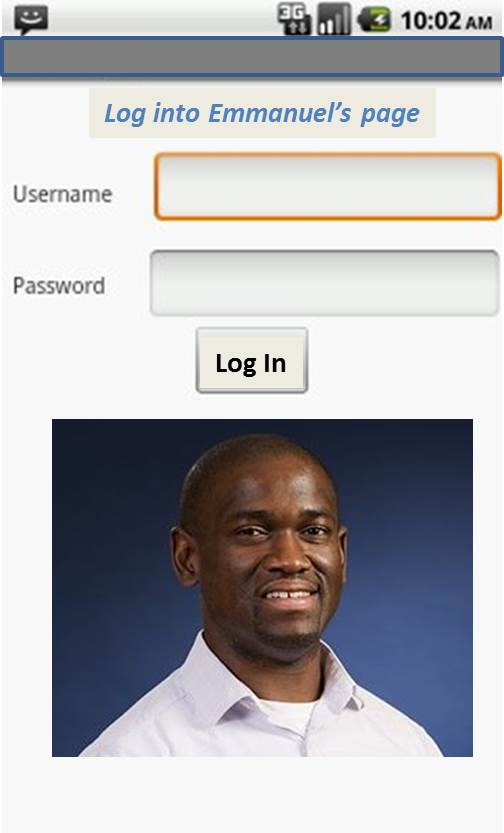
Screen 1: The following screen shows a login page.
Text can be typed into the "Username" and "Password" boxes.
Design a similar screen. If your name is Frank, your screen title at
the top should read "Log into Frank's page", etc. The picture should
also be your picture and not mine. Note that you are
just designing the screen. The "Log In" button does not have to be functional.
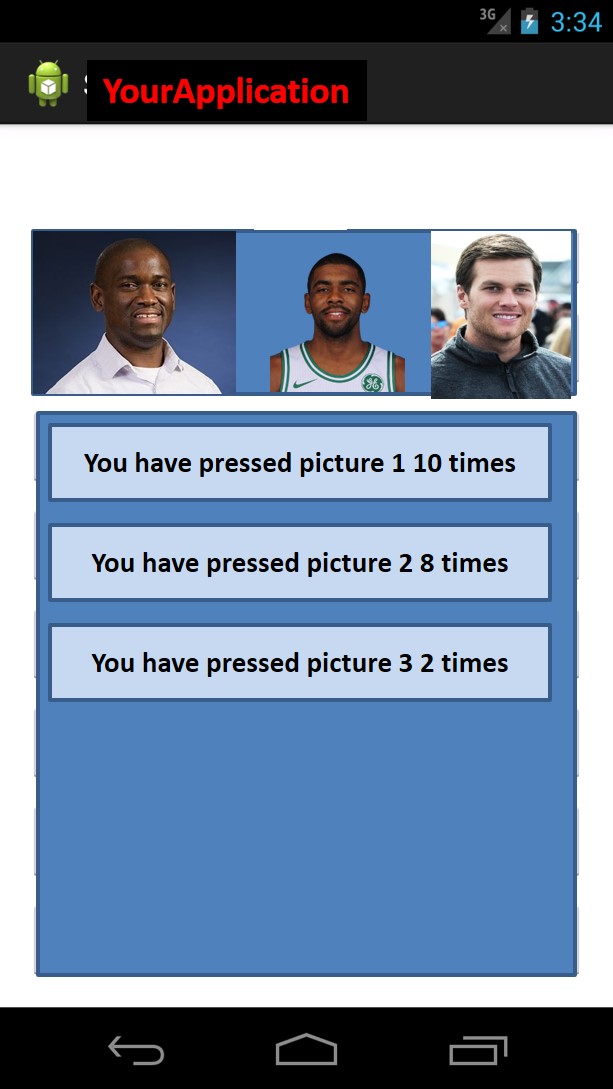
Screen 2: The screen below explores clickable images.
There are 3 clickable images arranged on the top row of the app screen.
You can use any 3 images of your choice for this app (e.g. off the Internet).
Your program keeps a running total of how many times you have
clicked on each image and displays this running total in boxes
below the images as shown. Initially, all 3 totals are 0. So
for instance, for picture 1, the initial message should be
"You have pressed picture 1 0 times". Each time a picture is
pressed, increment the counter and display the corresponding
updated message.
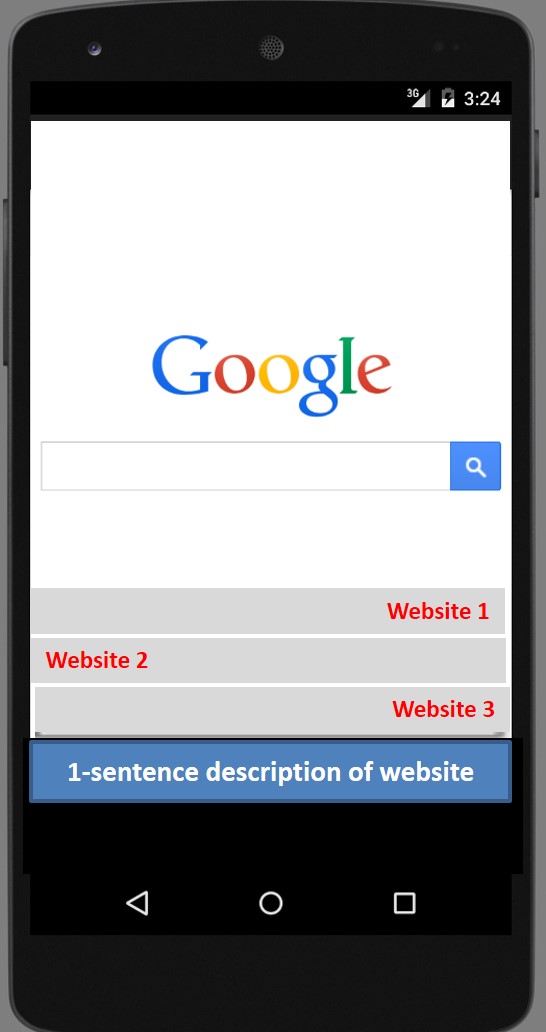
Screen 3:
This screen contains a rectangle in which to display web content (WebView),
3 buttons that when clicked each load a different website,
and a box that contains a 1-sentence description of the
selected website. Note the alignment (left, right) of
the text on each of the buttons. You
can use webView to display the selected website.
Each button has a different website
URL of your choice hardcoded into it. Pressing each button
should load up a different website into the Webview and a corresponding 1-sentence description
should be loaded in the textbox below the 3 buttons.
For example, if the user presses the
button "Website 1", the website "https://www.google.com"
may be loaded in the webview and the description "Google's
search page" may also be displayed in the description box below the
3 buttons.
Additionally, a toast pops up after clicking each button and
displays the a message containing the text "Good Job!! You just selected website 1" if the
button for website 1 is clicked. Similar toast messages are displayed for clicking on website 2 and 3
respectively.
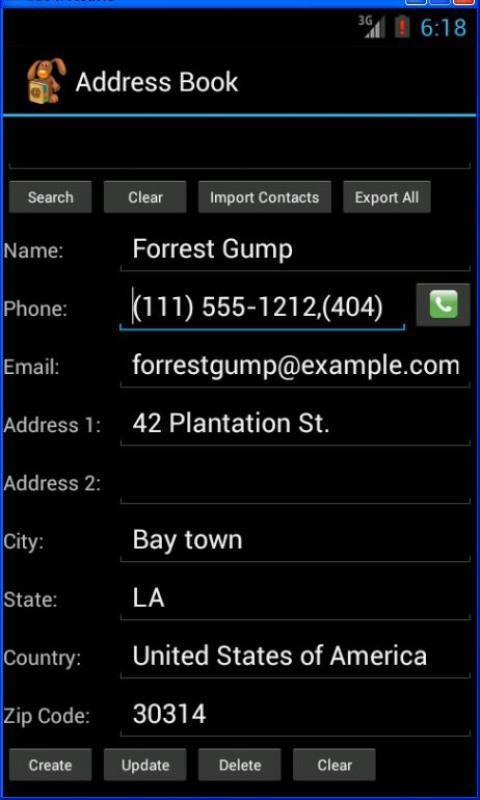
Screen 4: The following screen is for an
Address book on which users can type in Name, Phone, E-mail, Street, etc
City, State, etc. Design a similar screen. Note that you are
just designing the screen. They do not have be functional.
![[Return to the WPI Homepage]](../../../../../Emmanuel_files/seal.gif)
![[Return to CS Homepage]](../../../../../Emmanuel_files/new_cs.gif)