![[Brandi]](brandi.jpg)
|
Dog House |
![[Dog]](dog.gif)
|
|
|
Dog House |
|
Motivated by having a Golden Retriever (Brandi) that loves to stay outside, some free time in the summer, and kids itching to make something, we built a dog house to give Brandi a place to hide out when the weather is not cooperative. Building a doghouse is a great family project. Kids love pets and want to take care of them (not the daily chores, mind you, but care, in general). Depending upon their age, they can help with many parts of the house (planning, nailing, sanding, painting). Especially since its just a dog house, after all, and not so important if the house leans a bit to the left or the shingles are crooked - the dog won't care!
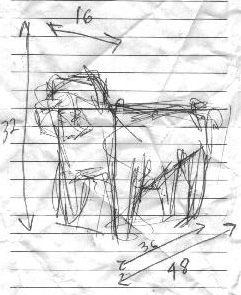 To start, my kids, Akaash and Saahil, designed the house. They used a
tape measure to record Brandi's shoulder height, head height (when
standing), length and width so she would be comfortable getting in and
out, standing, turning around and sleeping. By measuring, this
assured the dog can actually comfortably fit in the house. Many
store-bought houses and designs online are quite small - maybe ok for
a smaller dog but anything Lab sized up would be uncomfortable. My
kids also insisted it be large enough for dog plus the two of
them, sort of a dog/kid house. Rather than a traditional dog house
(Snoopy style), they wanted to have the dog house have a slanted roof
that leaned against the people house similar to buildings in
Stronghold, a computer game they play. They also wanted to be able to
climb on the roof of the dog house (the dog up top, ala Snoopy style,
was optional).
To start, my kids, Akaash and Saahil, designed the house. They used a
tape measure to record Brandi's shoulder height, head height (when
standing), length and width so she would be comfortable getting in and
out, standing, turning around and sleeping. By measuring, this
assured the dog can actually comfortably fit in the house. Many
store-bought houses and designs online are quite small - maybe ok for
a smaller dog but anything Lab sized up would be uncomfortable. My
kids also insisted it be large enough for dog plus the two of
them, sort of a dog/kid house. Rather than a traditional dog house
(Snoopy style), they wanted to have the dog house have a slanted roof
that leaned against the people house similar to buildings in
Stronghold, a computer game they play. They also wanted to be able to
climb on the roof of the dog house (the dog up top, ala Snoopy style,
was optional).
The custom design meant I was unable to follow some of the many online guides for building a dog house. And the dimensions were odd (walls were increments of 5 feet) such that I had a lot of leftover plywood pieces (which are sold in 8 foot sheets). Still, I wouldn't change getting buy in from the family in the design stage - in some sense, this is the most helpful part in getting everyone on board! (And my kids do make use of the leftover wood for bike jumps in our driveway.)
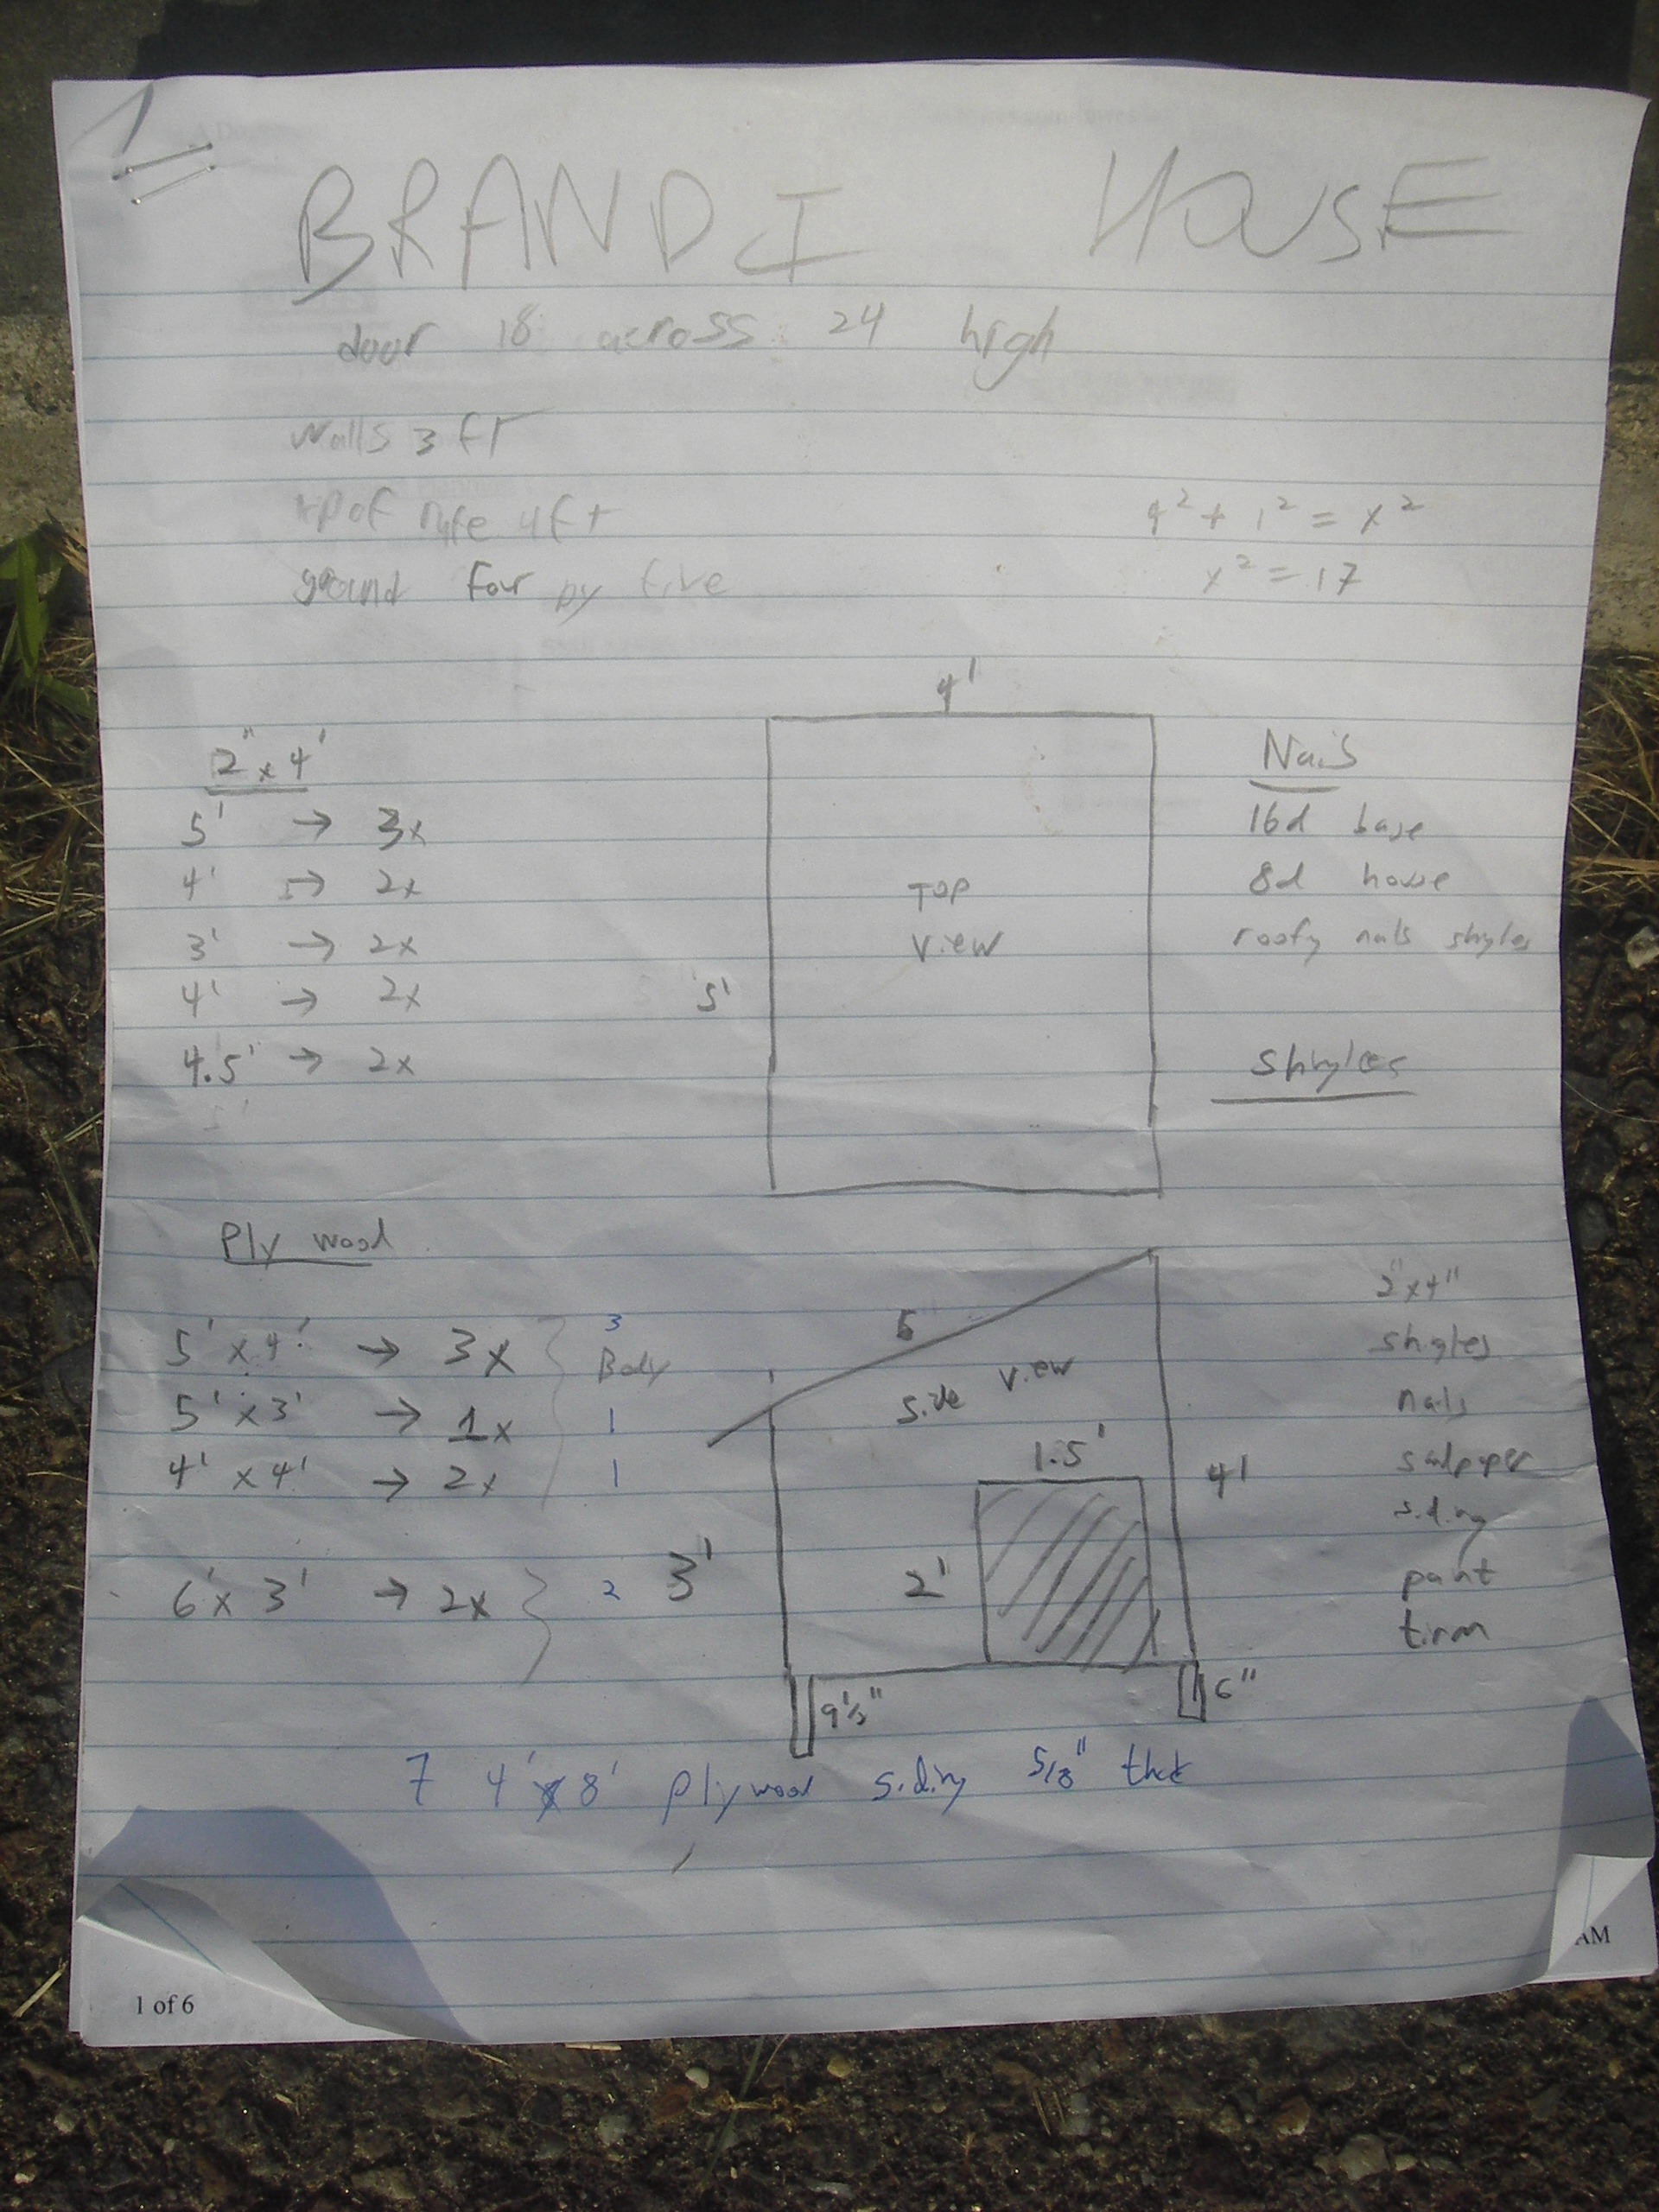 Once armed with a design by my kids, I went to work making it a design
I could actually build. For example, I added a floor that sits a few
inches above ground to prevent water running in when it rains, provide
cooling ventilation during the summer and bringing it off of the cold
ground in the winter. I selected 5/8" plywood for the sides, base and
roof and 2"x4"s for the framing. Then, I made a list of materials
needed, mostly the wood and nails, but also a few other items like
sand-paper and shingles. A trip to the lumber store and hardware
store had us ready!
Once armed with a design by my kids, I went to work making it a design
I could actually build. For example, I added a floor that sits a few
inches above ground to prevent water running in when it rains, provide
cooling ventilation during the summer and bringing it off of the cold
ground in the winter. I selected 5/8" plywood for the sides, base and
roof and 2"x4"s for the framing. Then, I made a list of materials
needed, mostly the wood and nails, but also a few other items like
sand-paper and shingles. A trip to the lumber store and hardware
store had us ready!
We first built the base, about 6" off the ground and with two layers of plywood for stability. Since the location of our dog house is slightly sloped, we made the left legs on the base about 3" longer than the right. Once in place, this makes the dog house level. Lots of sanding (a great task for kids since power sanders are pretty safe) ensured there would be no splinters.
![[Base 1]](base1.jpg)
|
![[Base 2]](base2.jpg)
|
![[Base 3]](base3.jpg)
|
![[Sanding]](sanding.jpg)
|
![[Base 4]](base4.jpg)
|
At this point, we moved the base to the final location. The finished dog house is heavy (all that plywood plus shingles). I made the mistake of needing to move it once (to put siding on the part closest to the wall) and regretted it (or at least, my back sure did). We attached framing to the sides and attached the walls to the base. Using a drill and a jigsaw, we cut a hole for the door and attached that side to the front.
![[Wall 1]](wall1.jpg)
|
![[Wall 2]](wall2.jpg)
|
![[Wall 3]](wall3.jpg)
|
Because of the odd dimensions (5'x4' and slanted roof), the roof needed two pieces of plywood to cover it. I attached a board along the crack in the middle for added support when the kids climb on the roof. It was sized to overhang the front, back and sides by a few inches.
![[Roof 1]](roof1.jpg)
|
![[Roof 2]](roof2.jpg)
|
![[Roof 3]](roof3.jpg)
|
I had not done shingles before, but they turned out to be pretty easy. I didn't bother with the felt undercoating or a guide strip because the roof was small. We used smaller wire braids since standard roofing nails poked through to the inside of the dog house. One standard pack of shingles (picked to match the color of the people house) exactly covered the roof.
![[Shingle 1]](shingle1.JPG)
|
![[Shingle 2]](shingle2.JPG)
|
![[Shingle 3]](shingle3.JPG)
|
![[Shingle 4]](shingle4.JPG)
|
Painting with kids can be fun (including picking colors), but I decided to try my hand at vinyl siding. I went to the hardware store and looked at all the different parts (corner pieces, soffits, siding, etc.) and tried to figure out out it worked. Most is intuitive, but I still don't know how to finish the siding at the top, so I made that up (I used a piece of trim). I picked colors to match the people house. It turns out vinyl siding is surprisingly easy to put on, looks great, but does cost a lot - the total siding cost was as much as all the rest of the dog house.
![[Siding 1]](siding1.jpg)
|
![[Siding 2]](siding2.JPG)
|
A bit of decorative trim around the door and under the roof and it was done! We added a house number (52) for decoration as well as a dog bed (washable) and a bowl for water.
![[Final 1]](final1.JPG)
|
![[Final 3]](final3.JPG)
|
![[Final 2]](final2.JPG)
|
Now that it is complete, how does our dog, Brandi, like it? She doesn't. We'll, she likes it well enough, but not as much as her favorite nook under our bushes by the porch. Still, when the weather gets drippy (and in New England, it certainly does) and cold (ditto), she has a dry, warm place to hang out. And, in the meantime, my kids like it - and they have a club house!
-- Mark Claypool